How to Forge a Viking Axe?
A Viking axe must be meticulously crafted using contemporary equipment and old blacksmithing methods. But how to forge a Viking axe with perfection?
Making your own Viking axe is now easier than ever. It guarantees both practicality and authenticity. Knives Hives presents a sequential tutorial on how to forge a Viking axe while protecting yourself from harm.
Understand the Viking Axe Design
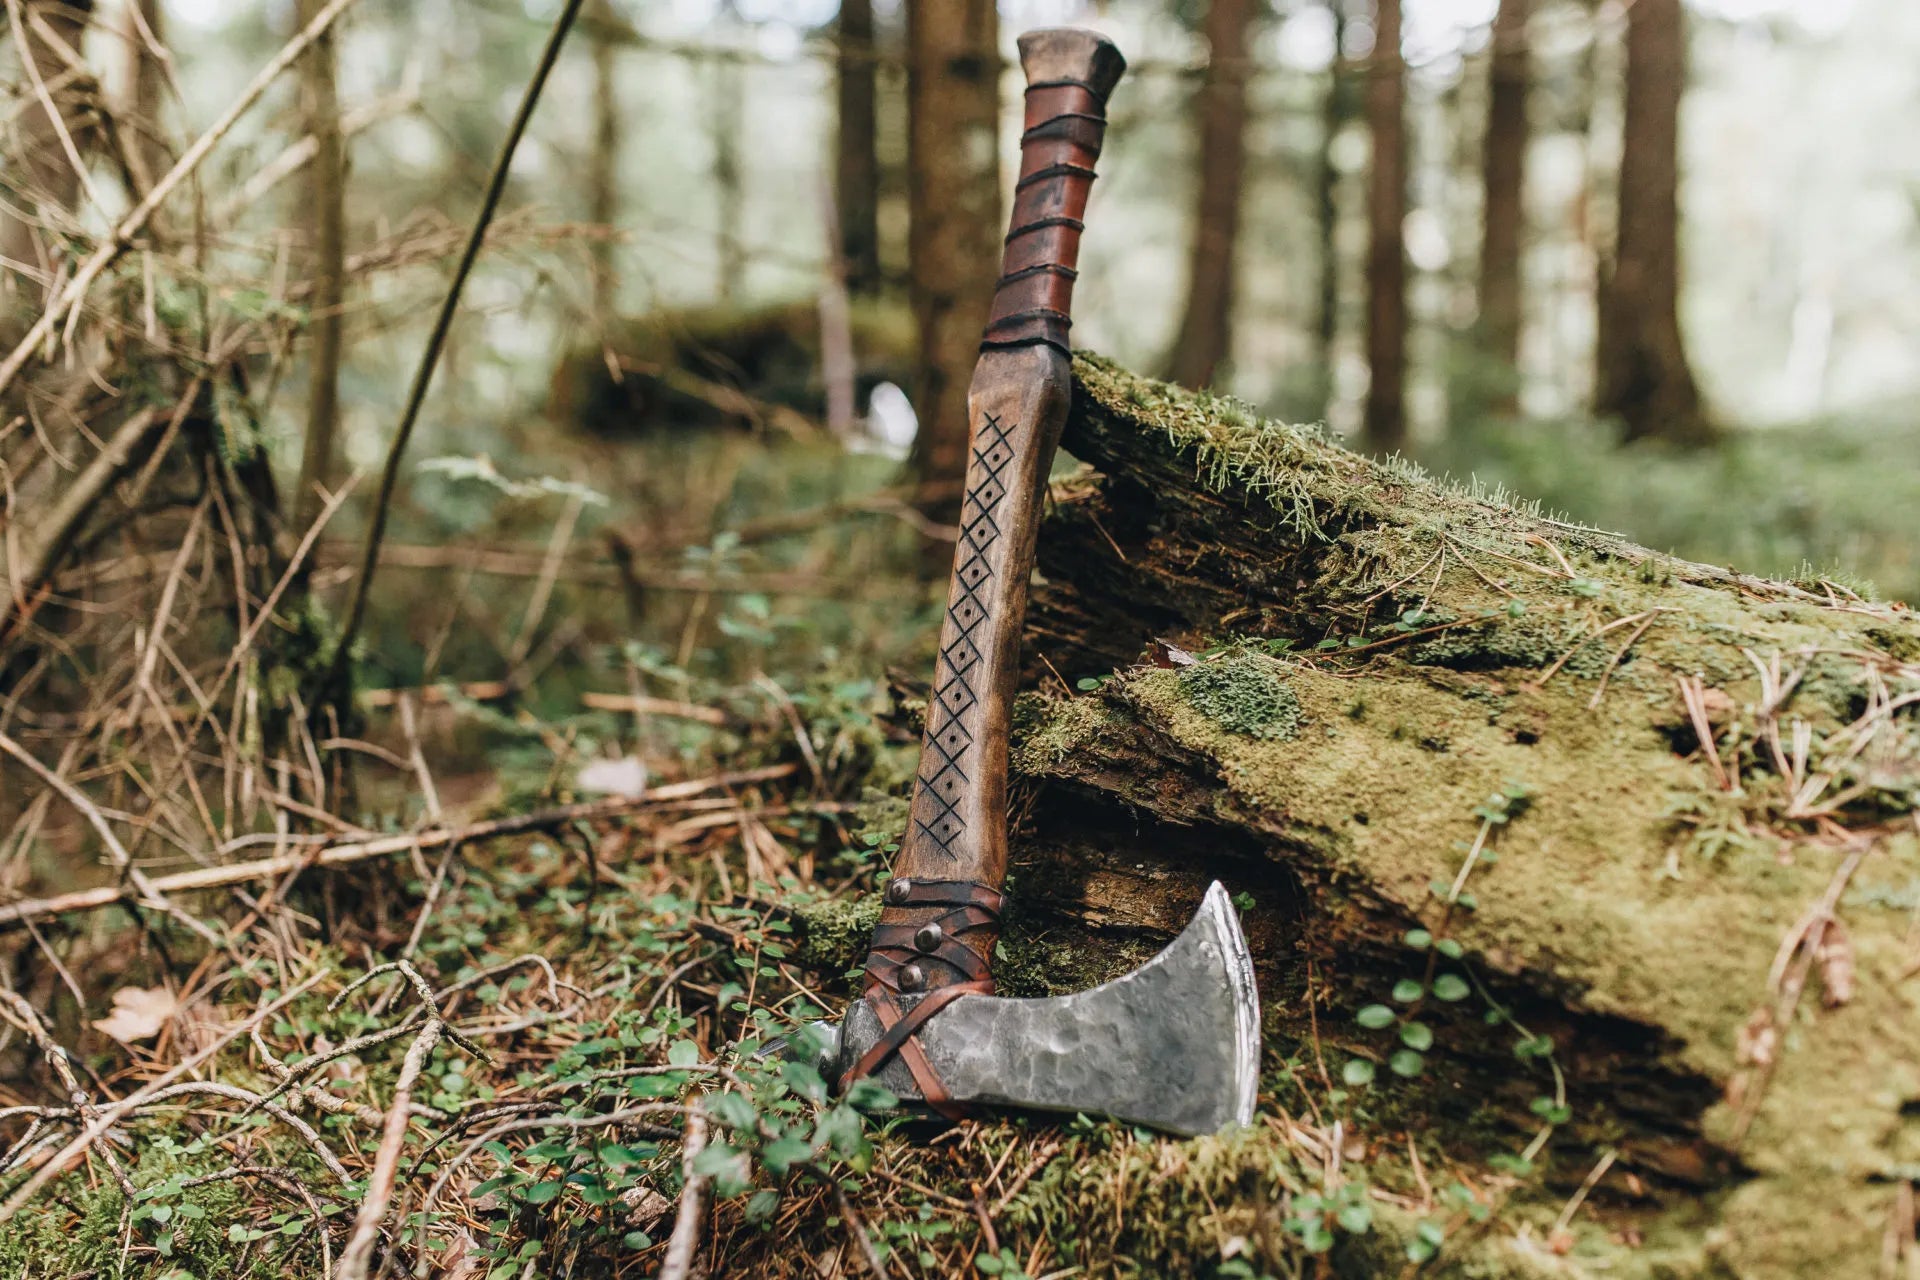
The Skeggøx, or expanded bottom blade, is one distinctive characteristic that sets Viking axes apart. Because of its lightweight construction and wider cutting area, its design may be used for both everyday work and battle.
Also check our carbon steel axe.
How to Forge a Viking Axe?
Follow these steps to forge the best Viking axe:
-
Selecting Appropriate Materials
Axe Head
In the past, Viking axes were made of iron and frequently included a steel bit to improve edge retention. For contemporary recreations, it is advised to begin with a piece of hot-rolled mild steel around 0.75" x 2.5" x 4.5".
Handle
Hardwoods such as ash or hickory are the best because of their resilience and capacity to absorb shock.
-
Forge the Axe Head
Shaping
First, heat the steel to a forging temperature to create the blade and eye (the hole for the handle). A popular technique for making the eye is to flatten the metal and bend it around a shape.
Beard Formation
To create a distinctive beard, extend the lowest part of the blade. This may be accomplished by pulling out the metal and creating the extended edge.
-
Inserting the Steel Bit
Split the end of the blade and insert a high-carbon steel bit for a hardened cutting edge. Forge weld this bit into position to ensure a smooth connection. This method preserves the axe's overall hardness while producing a long-lasting edge.
-
Heat Treatment
Hardening
To harden the steel, heat the axe head to a necessary temperature and submerge it in oil. This technique increases the blade's toughness.
Tempering
Lower the temperature of the axe head and let it cool gradually. Tempering balances durability and hardness by reducing brittleness.
-
Creating the Handle
Shaping
Outline the desired handle on the wood, then cut it out. Make sure the handle fits appropriately in the hand and matches the size and design of the axe head.
Fitting
Carve the handle's top to slide into the eye of the axe head. A tight fit is essential for both functionality and safety.
-
Assembly
Make sure the axe head and handle fit tightly. A wooden wedge is often inserted into the top of the handle to extend the handle inside the eye and securely fasten the head.
-
Final Details
Surface Treatment
Polish the axe head to the appropriate finish to remove scaling or oxidation. A protective oil can also avoid rust and improve appearance.
Handle Treatment
To preserve the wood and remove the grain, apply linseed oil or a comparable finish to the handle.
-
Optional Improvements
Engravings
Use etching methods or engraving equipment to add unique touches or classic Norse designs. This honors historical items while also improving aesthetics.
Sheath
Make a leather sheath to safeguard the sword and guarantee secure transportation. Although not all ancient axes had sheaths, they give your project a polished appearance and added practicality.
Buy Damascus steel axe.
The Bottom Line
Comprehending how to forge a Viking axe links contemporary artisans with age-old customs. By combining traditional methods with modern artistry, you may make a valuable and genuine Viking axe sequentially following these steps.
Related Posts

Understanding Knife Regulations for Collectors

Trends in Knife Collecting in 2025

Limited Edition Custom Knives 2025

Cleaning and Maintaining High Carbon Steel Blades

How to Properly Hold a Chef Knife?

Why Is It Called a Chef’s Knife?
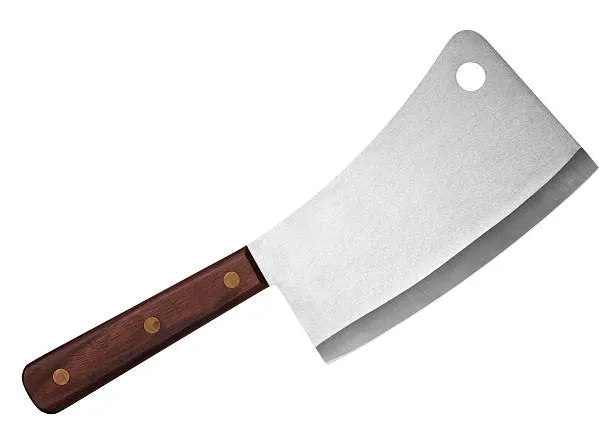
What is a Meat Cleaver?